Bike stickers and decals are one of the simplest ways to personalise your bike and give it a cleaner, more distinctive look.
But not every cyclist wants large graphics, brand logos or decorative sticker kits.
For many riders, the most professional-looking option is much simpler:
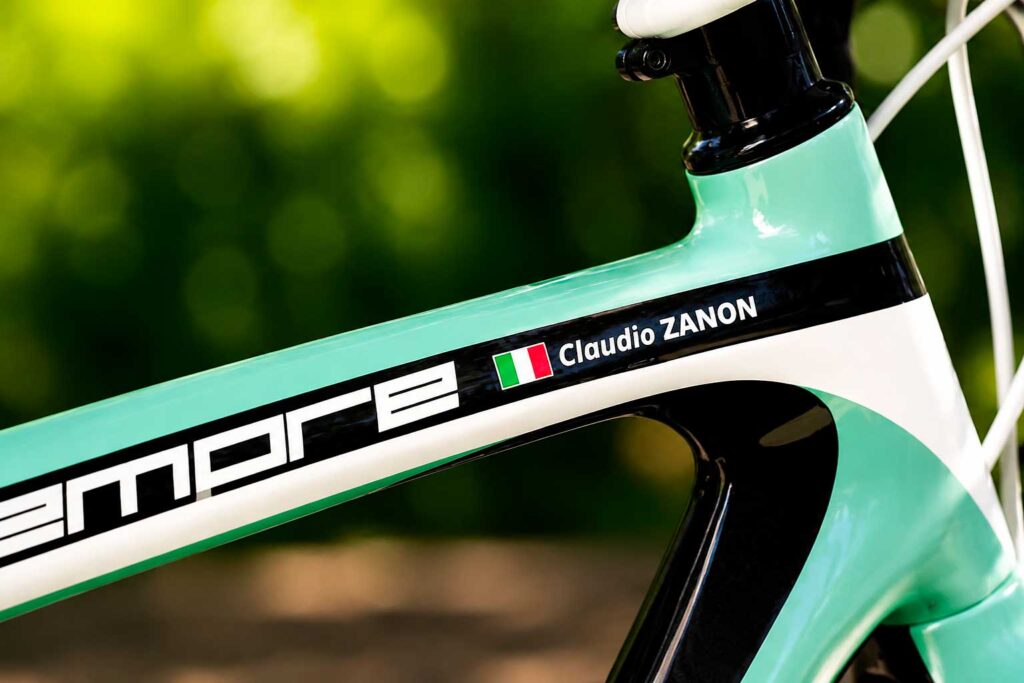
your name + your national or regional flag.
This small detail is commonly seen on professional race bikes and works just as well on road, gravel, mountain and triathlon bikes.
Pegatin creates custom bike stickers and personalised bicycle decals designed around your own name and flag, so you can add identity to your bike without covering its original paintwork or graphics.
Whether you are looking for bike frame stickers, cycling name stickers or custom bicycle decals, the idea is the same: keep the design small, clean and personal.
Your Name and Flag, on Your Bike.
Where to Put Bike Stickers and Decals on Your Bicycle
Not every part of a bike is a good home for a sticker. Three things decide it: how flat the surface is, whether it flexes, and how much abuse it takes.
The best spots
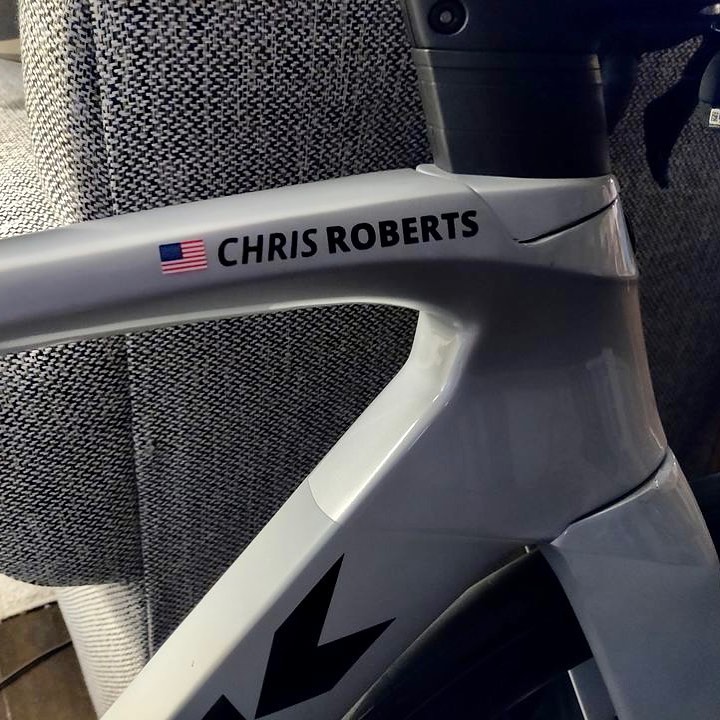
Top tube. The classic, and there’s a reason every pro bike has one. Flat, visible from above when you’re riding, and it takes almost no impact. If you only put a sticker in one place, put it here.
Helmet. Another popular place for a personalised name-and-flag sticker, especially when you want the same rider identity across your bike and helmet. Always follow the helmet manufacturer’s recommendations regarding adhesives and decals.
Seat post. Flat, protected, and readable when the bike is racked or leaning.
Fork legs. Visible from the front, and they hold well as long as you stay clear of the dropouts.
Rims and water bottles. Both work, both are more exposed to knocks — fine for a decal you don’t mind refreshing.
The spots to avoid
Anywhere that flexes. Chainstays and seat stays move under load. That movement works the adhesive loose from the edges over months, and the sticker starts lifting before anything else goes wrong with it.
Anywhere your legs or shoes touch. The inside of the crank arms and the lower seat tube get constant contact. No adhesive survives that indefinitely.
Textured or matte-with-grain finishes. A sticker needs a smooth surface to make full contact. On a textured finish it only touches the high points, and it will lift.
Curved surfaces tighter than about a 3 cm radius. Handlebars and thin tubing force the vinyl to stretch, which pulls it back toward its original shape and creates the lifted edges you see on cheap decals.
Near the bottom bracket. Road spray, chain lube and degreaser all end up there. It’s the harshest part of the bike.
If your main goal is personalising the frame itself, see our complete guide to bike frame stickers for placement, materials and name-and-flag options.
Make your bike easier to identify and give it a clean professional look.
What separates a decal that lasts from one that doesn’t
This is where most stickers fail, and it has nothing to do with how they look on day one.
The film matters more than the print. Cheap vinyl shrinks slightly as it ages. You don’t see it happening — what you see is the result, six months later: a thin pale border around the edge of the design where the film has pulled back from where it started. High-performance film is dimensionally stable, which is another way of saying it resists changes in size.
UV protection is a layer, not a claim. Sunlight breaks down pigment. A decal without a UV-blocking topcoat fades in a single strong summer — reds go orange, blues go grey. With one, it holds colour for years.
The adhesive has two jobs that pull against each other. It has to grip hard enough to survive pressure washing and road grime, and release cleanly when you want it gone. Cheap adhesive does one or the other: either it lifts at the edges, or it comes off in pieces and leaves a grey shadow you have to scrub.
White is not a printing colour. This one catches almost everyone out. On transparent film, wherever a design should be white, nothing is printed — the film just shows your paint through it. A white frame provides the intended white background. On a black frame, a Japanese flag becomes a black square with a red dot. The fix is an opaque white layer printed underneath the design first.
We’ve broken down all five layers of a quality decal, with diagrams, in a separate guide to what’s actually inside a sticker.
Types of bike decal
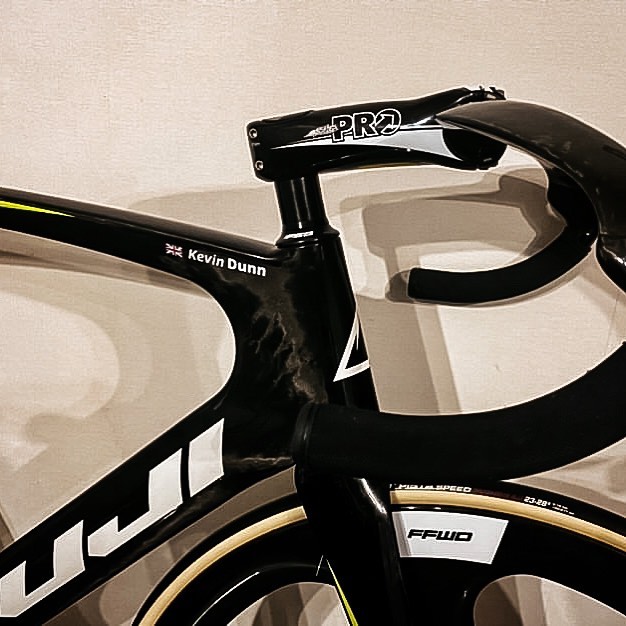
Printed decals on clear film. The most common. Full colour, any design, and the whole design sits on a single piece of film with a visible edge around it. Best on light surfaces unless there’s a white base layer underneath.
Die-cut decals. Each letter and shape is cut out individually, so there’s no film surrounding the design at all. Nothing frames your name — it reads as though it were painted on. Particularly good on matte finishes, where a printed edge catches the light.
Manufacturer decals. The ones that came on your frame. Usually applied under the clear coat, which is why they don’t peel — and why you can’t remove them without refinishing.
Looking for something made specifically for you? Our guide to custom bike decals explains how to personalise your bike with your name, flag and a clean pro-inspired design.
Will a decal damage your frame?
In most cases, a suitable quality vinyl decal applied and removed correctly should not damage a properly finished bike frame. The main considerations are the type of adhesive, the frame’s paint or finish, UV exposure and how the decal is removed.
The risk is almost never the sticker. It’s using a blade to remove one, pulling it off cold and fast instead of warming it first, or leaving a cheap decal on matte paint for years in strong sun.
We cover this properly in our guide on whether stickers damage carbon frames.
Can Bike Stickers and Decals Be Removed?
The three rules that matter: clean the surface thoroughly with a product suitable for your frame’s finish and let it dry fully; position the decal dry before peeling the backing; press from the centre outward so air escapes ahead of you rather than getting trapped.
For removal: warm it first with a hairdryer, peel slowly at a low angle, and never use a blade.
Full step-by-step in our guide on how to apply and remove bike stickers.
Frequently asked questions
How long should a good bike decal last? A high-quality bike decal can last for years rather than months. Actual lifespan depends on the vinyl, UV protection, application, weather exposure, washing and where the decal is positioned on the bike.
Can I put decals on a matte frame? Yes. Die-cut decals suit matte finishes best, because there’s no film edge to catch the light against the flat surface.
Will pressure washing take them off? Not if the adhesive is decent and the decal has been on for more than 24 hours. Avoid aiming a jet directly at an edge from close range.
Can I reposition a decal after applying it? Within the first few seconds, gently. After that the adhesive has started to set and you’re better off removing it properly and using another.
Do decals affect resale value? A removable name sticker is unlikely to affect resale value when it’s applied to a suitable finish and removed correctly. We looked at this in detail in our post on resale value.
Want Something More Personal Than a Decorative Decal?
You do not need to cover your bike with graphics. A small name-and-flag sticker adds a personal, race-inspired detail. A custom bike name sticker gives your frame a clean, personal PRO look while keeping the original design of the bike visible.
Personalised Bike Name Stickers with Your Name and Flag
If you are looking for bike stickers that feel part of the bike rather than decorative graphics added on top, a personalised name-and-flag decal is one of the cleanest options.
Pegatin creates custom bike name stickers with your first name, surname and national or regional flag, designed to reproduce the personalised look seen on professional race bikes.
Use them on suitable areas of your road, gravel, mountain or triathlon bike and choose the lettering colour that gives the best contrast with your equipment.
Your Name and Flag, on Your Bike.
Not sure which material and finish best suits your bike? Compare Pegatin BASIC, PRO and PLUS before creating your personalised name-and-flag decals.
Add your name and flag to your bike
Save 15% with code PRODECALS. Free worldwide shipping.
Create your Pegatin