Applying bike frame stickers correctly makes the difference between a clean, professional finish and bubbles, poor adhesion or crooked placement.
The same applies when it’s time to remove them. Whether you’re adding personalized name-and-flag stickers to a road bike or removing old bicycle decals from a carbon frame, the basic rules are simple: start with a perfectly clean surface, take your time and never use a blade on your frame.
In this guide, we’ll show you exactly how to apply bike stickers without bubbles and how to remove them safely without damaging your paint, clear coat or carbon frame.
Ready to personalise your bike? Create your personalised bike name stickers with your name and country flag.
This guide is specifically about applying and removing stickers. If you are still choosing the right product for your frame, see our guide to custom bike frame stickers.
Your name. Your flag. Your bike.
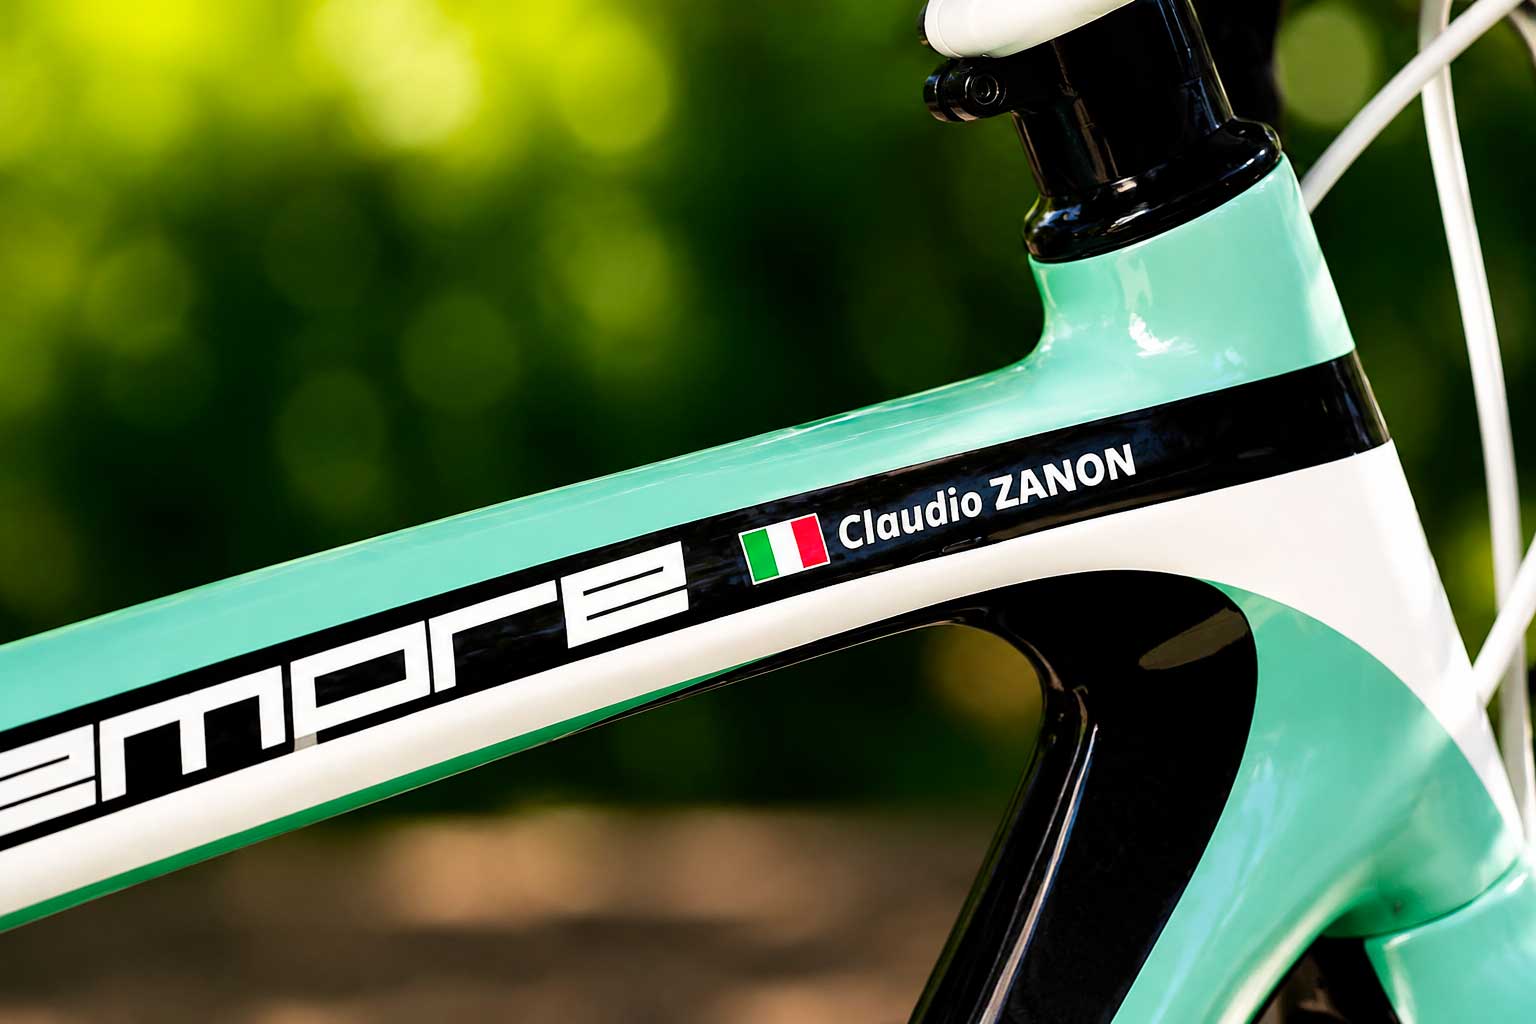
Choose your name and flag for a personal finishing touch.
Create my PegatinSave 15% with PRODECALS
Free worldwide shipping.
Before you apply: choosing the spot
Not every surface holds a sticker equally well. For the best result:
Make sure it’s visible where you want it seen. The top tube and helmet are the classic choices for name-and-flag stickers — both flat, both visible, both proven to hold up well.
Pick a flat, smooth area. Curved or textured surfaces make it harder to avoid air bubbles.
Avoid moving or flexing parts. A spot that flexes with the bike’s motion will work the adhesive loose over time.
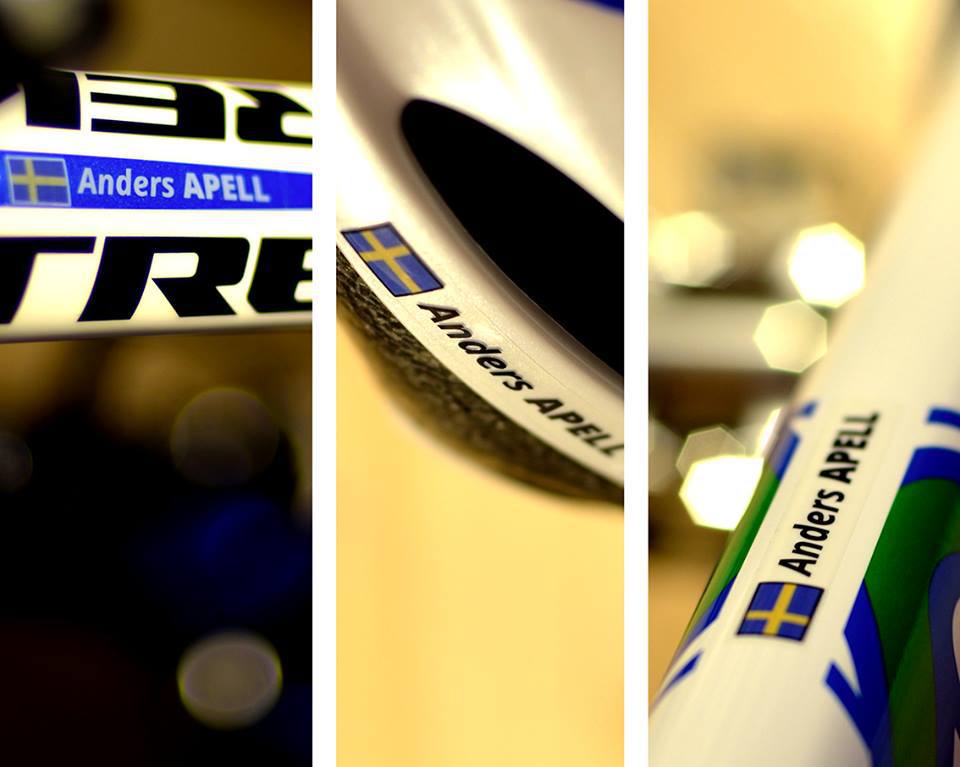
How to Apply Bike Frame Stickers Correctly
How to clean the surface properly
This is the step that decides whether your sticker lasts. Any oil, dust or residue left underneath will weaken the bond.
- Wash the area with mild soap and water, or wipe it down with isopropyl alcohol for a faster, more thorough clean.
- Make sure the surface is completely dry before moving on — any moisture trapped underneath can cause bubbling later.
- Avoid silicone-based sprays or polishes on the area beforehand; they leave a film that prevents proper adhesion.
How to apply the sticker without bubbles
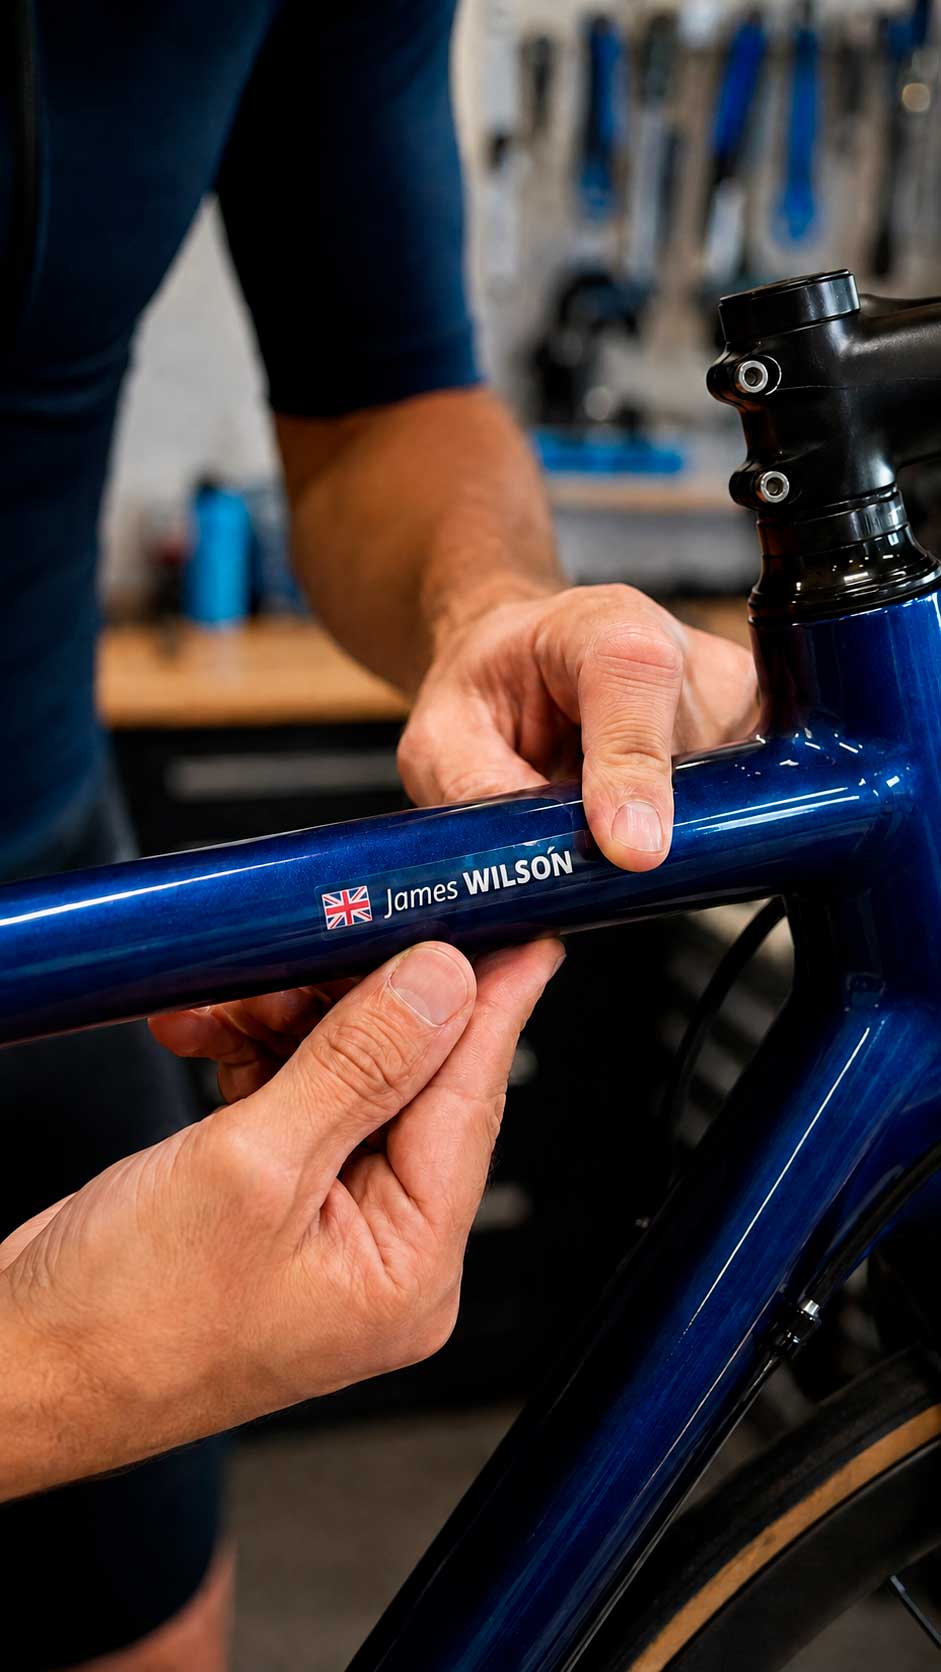
- Position it dry first. Hold the sticker in place (or use a strip of low-tack tape as a hinge) to check alignment before committing.
- Peel back a small section of the backing, not the whole thing at once — this gives you control as you go.
- Press from the center outward, smoothing as you move toward the edges. This pushes air out ahead of you instead of trapping it.
- Work in mild, room-temperature conditions. Very cold weather makes vinyl stiffer and adhesive less cooperative; let the bike warm up a little if needed.
- If a small bubble appears, don’t panic. Gently work the trapped air toward the nearest edge with your finger or a soft plastic squeegee. Avoid aggressively lifting and repositioning the sticker once the adhesive has begun to bond.
Can You Put Stickers on a Carbon Bike Frame?
Yes, but correct application and removal matter.
A quality bike sticker applied to a suitable finished surface should not require any aggressive installation technique. The most important precautions are simple: clean the surface correctly, don’t scrape the frame with metal tools and use gentle heat when removing the sticker.
Carbon frames can have different paint, clear-coat and matte finishes, so if you’re concerned about a particular bike, check the frame manufacturer’s care instructions first.
Looking for the right decal before you start? See our complete guide to bike frame stickers to learn about materials, placement and personalised name-and-flag options.We’ve covered this subject in much more detail in Do Stickers Damage Your Carbon Frame? What Every Cyclist Should Know.
How to remove a sticker safely — no scratches, no residue
When it’s time for a refresh, removal is just as straightforward, as long as you skip anything sharp.
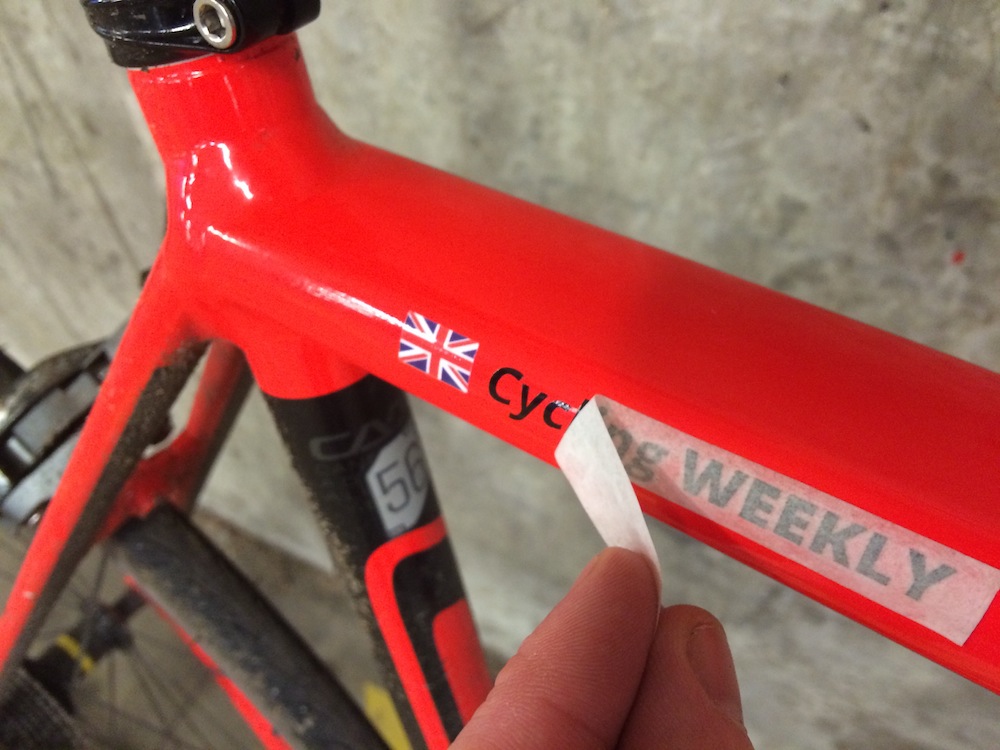
- Warm it up first. A hairdryer on a low or medium setting (held a few centimeters away) softens the adhesive significantly. A warm day in the sun does the same thing more slowly.
- Peel slowly, at a low angle, rather than pulling straight up. This dramatically reduces the chance of adhesive staying behind.
- Reheat as needed. If you hit resistance, stop and warm the area again rather than forcing it.
- If adhesive residue remains, start with the least aggressive method. Use a soft microfiber cloth and a cleaner known to be compatible with your bike’s finish. Before using isopropyl alcohol or a dedicated adhesive remover, check the frame or paint manufacturer’s care instructions and test it on an inconspicuous area if necessary.
Skip the blade. A razor or knife can scratch paint and clear coat. Lift an edge gently and peel slowly instead. Use heat or cleaning products only if the frame manufacturer permits them. Stop if the finish lifts or changes.
How to Remove Bike Stickers From a Matte Frame
If you’re particularly concerned about your bike’s finish, test any cleaning method on a hidden area first.
Matte finishes deserve extra care because polishing, aggressive rubbing or unsuitable cleaning products can alter the appearance of the surface.
Use gentle heat, peel the sticker slowly at a low angle and avoid abrasive products. If residue remains, follow the cleaning recommendations provided by your bike or frame manufacturer rather than polishing the area.
Frequently asked questions
How long should I wait before getting the bike wet after applying a sticker? Most vinyl decals set within a few hours, but for extra peace of mind, avoid washing the bike or riding in heavy rain for the first 24 hours.
My sticker has a small bubble — do I need to start over? Gently smooth the air towards the nearest edge with your finger or a soft plastic squeegee. If the bubble remains, contact us for application advice rather than using a sharp tool on the frame.
Will removal leave a mark on matte paint? The result depends on the condition and type of finish. Follow the frame manufacturer’s care instructions and remove the sticker slowly, without scraping or using abrasive products.
What’s the best tool if I don’t have a hairdryer? A few minutes in direct sunlight on a warm day works almost as well — the goal is simply to soften the adhesive before peeling.
Can bike frame stickers damage carbon?
Correctly applied stickers shouldn’t require any process that damages a carbon frame. The main risks come from inappropriate removal methods, such as scraping the surface with a metal blade, or using a cleaning product unsuitable for the frame’s finish. See our complete guide to stickers on carbon frames.
Where is the best place to put a name sticker on a road bike?
The top tube is the classic location for a personalized name-and-flag sticker. It’s visible, generally easy to apply on a suitable smooth area and recreates the identification style commonly seen on professional race bikes.
Can I put a name sticker on my cycling helmet?
Depending on the helmet surface and manufacturer’s instructions, cyclists also use personalized stickers on their helmets. If you’re considering it, read our guide to name and flag stickers on cycling helmets.
Can I remove a bike sticker and reuse it?
Generally, no. Once a vinyl sticker has been removed, the adhesive and material may stretch or lose their original bond. For the cleanest result, use a new sticker.
Looking for more than application tips? See our complete guide to custom bike decals to compare styles, materials and personalised name-and-flag options for your bike.
Ready to Give Your Bike the PRO Look?
You’ve cleaned the surface. You know exactly where to place it. Now add the finishing detail seen on professional race bikes around the world.
If you’re looking for the classic professional cycling style, see our guide to bike name stickers and discover how riders personalise their bikes with their name and flag.
Your name and flag, on your bike.
Not sure which version is right for your bike? Compare Pegatin BASIC, PRO and PLUS.
Add your name and flag first; choose your pack in the next step.
CREATE MY NAME & FLAG →
Add your name and flag to your bike
Save 15% with code PRODECALS. Free worldwide shipping.
Create your Pegatin