Whether you’re putting on your first name-and-flag sticker or getting ready to update your look, the difference between a great result and a frustrating one almost always comes down to technique. Here’s exactly how to do both — apply and remove — without bubbles, residue, or any damage to your frame.
Before you apply: choosing the spot
Not every surface holds a sticker equally well. For the best result:
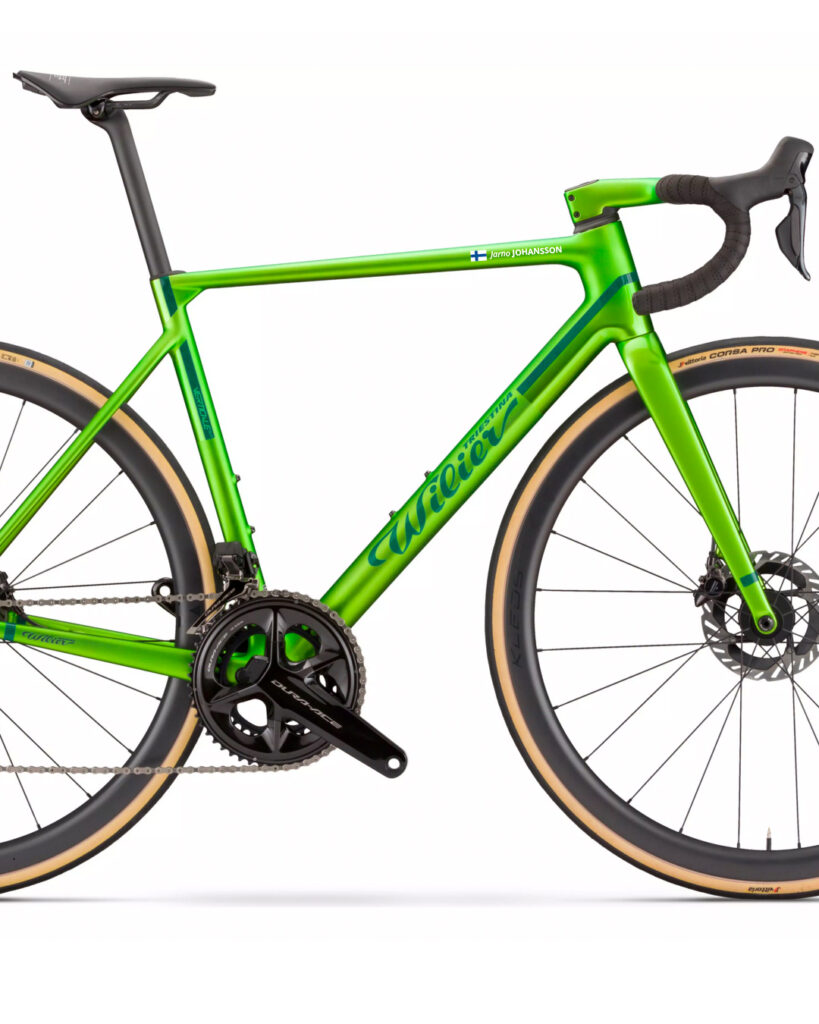
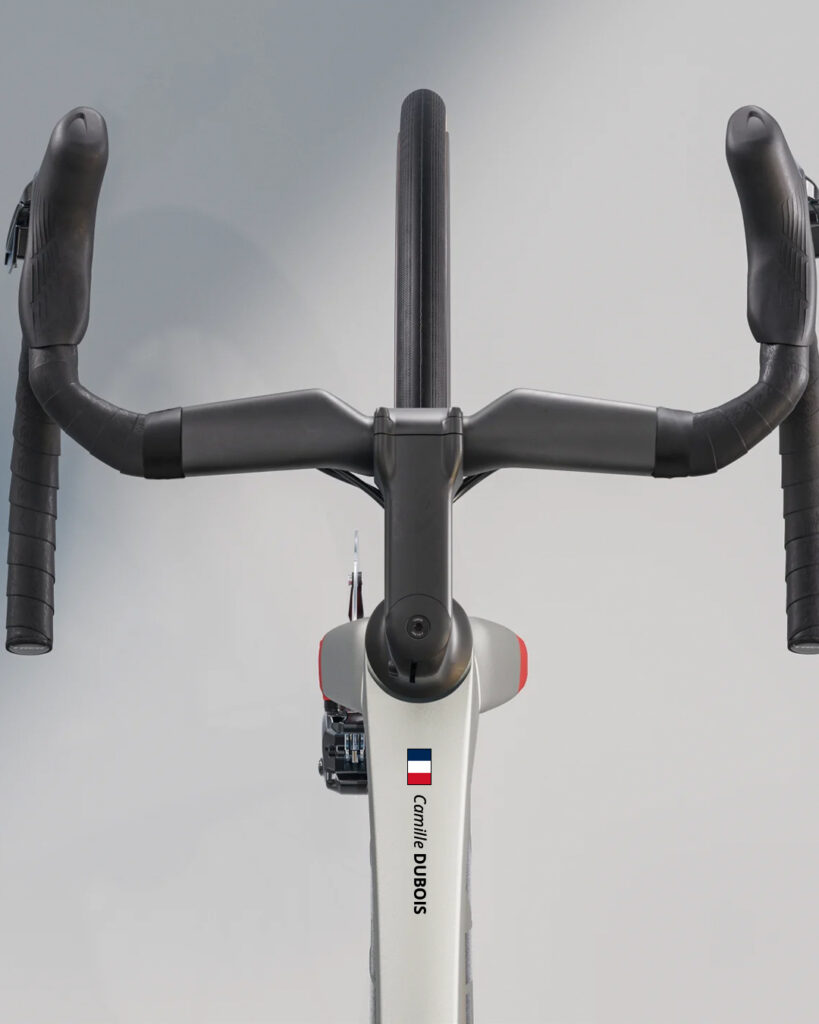
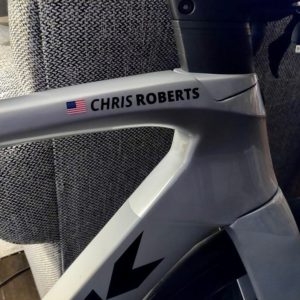
Make sure it’s visible where you want it seen. The top tube and helmet are the classic choices for name-and-flag stickers — both flat, both visible, both proven to hold up well.
Pick a flat, smooth area. Curved or textured surfaces make it harder to avoid air bubbles.
Avoid moving or flexing parts. A spot that flexes with the bike’s motion will work the adhesive loose over time.

Other posts that may interest you about customizable bike stickers
Applying Custom Bicycle stickers

How to clean the surface properly
This is the step that decides whether your sticker lasts. Any oil, dust or residue left underneath will weaken the bond.
- Wash the area with mild soap and water, or wipe it down with isopropyl alcohol for a faster, more thorough clean.
- Make sure the surface is completely dry before moving on — any moisture trapped underneath can cause bubbling later.
- Avoid silicone-based sprays or polishes on the area beforehand; they leave a film that prevents proper adhesion.
How to apply the sticker without bubbles
- Position it dry first. Hold the sticker in place (or use a strip of low-tack tape as a hinge) to check alignment before committing.
- Peel back a small section of the backing, not the whole thing at once — this gives you control as you go.
- Press from the center outward, smoothing as you move toward the edges. This pushes air out ahead of you instead of trapping it.
- Work in mild, room-temperature conditions. Very cold weather makes vinyl stiffer and adhesive less cooperative; let the bike warm up a little if needed.
- If a small bubble does form, a pin-sized hole at the edge of the bubble lets you press the air out — invisible once smoothed down.
How to remove a sticker safely — no scratches, no residue
When it’s time for a refresh, removal is just as straightforward, as long as you skip anything sharp.
- Warm it up first. A hairdryer on a low or medium setting (held a few centimeters away) softens the adhesive significantly. A warm day in the sun does the same thing more slowly.
- Peel slowly, at a low angle, rather than pulling straight up. This dramatically reduces the chance of adhesive staying behind.
- Reheat as needed. If you hit resistance, stop and warm the area again rather than forcing it.
- For any leftover residue, use an isopropyl alcohol wipe, or a dedicated adhesive remover made for vehicles and bikes. Let it sit for a few seconds, then wipe clean with a soft cloth.
Skip the blade. It’s tempting to scrape a stubborn edge with a razor blade or knife, but this is the one technique that can genuinely scratch paint or clear coat — and on carbon frames, it’s not worth the risk. Heat and a plastic edge (an old gift card works well) do the same job without any chance of damage. If you’ve read elsewhere that a blade is fine, it isn’t — stick with heat and patience instead.
Frequently asked questions
How long should I wait before getting the bike wet after applying a sticker? Most vinyl decals set within a few hours, but for extra peace of mind, avoid washing the bike or riding in heavy rain for the first 24 hours.
My sticker has a small bubble — do I need to start over? No. A small pin-prick at the edge of the bubble, followed by a gentle press, will release the trapped air without needing to remove and reapply.
Will removal leave a mark on matte paint? Gloss finishes are unaffected. Matte paint can occasionally show a very faint mark after long periods in strong sun — using heat and a slow, low-angle peel minimizes this.
What’s the best tool if I don’t have a hairdryer? A few minutes in direct sunlight on a warm day works almost as well — the goal is simply to soften the adhesive before peeling.
The bottom line
A clean application and a clean removal both come down to the same two things: patience and heat, never force. Skip the blade, take your time with alignment, and a sticker will go on smoothly and come off just as cleanly whenever you’re ready for your next look.
At Pegatin, our personalized name-and-flag stickers are made with bike-grade vinyl designed for exactly this kind of easy, damage-free application and removal.